Guide: How to Look after your Outdoor lights
How to Look after your Fisherman’s lights
There comes a time when lighting fixtures require maintenance or replacement, particularly the glass components that protect the bulbs, sometimes called a glass globe. Understanding how to care for and replace this glass is essential for ensuring your lights remain functional and aesthetically pleasing.
If you damage your glass bowl, accidents will happen! Firstly check the glass for cracks or is it shattered? If its shattered Turn off the power and carefully remove all the glass. If the glass is still secure and just cracked, you can leave it in place till a replacement arrives.
Our Fisherman’s Lights are safe to use inside without the glass bowl for a short period, providing the fixture isn’t in an area prone to moisture i.e Kitchen or Bathroom. Details on Glass repalcement below;
Important: Before you start replacing damaged glass or cleaning your lights ensure the power is off.
Cleaning Your Light Fitting
Your light fixtures do need cleaning from time to time, a good spring clean will keep them fresh looking for years to come. This is important for kitchen lights that can get greasy and attract more dirt.
For Wall lights that are outside this is a good job to do at the end of the summer so your outside lights are ready for the winter ahead, when you really need them.
Assuming there is no damage to the glass, and having turn off the power, start cleaning the shade and metal fittings. Mild soapy water will usually clean the shade and fittings, removing grime and the build up of dirt. This protects the paint work from getting tarnished.
Ensure you hold the fitting carefully, particularly the glass bowl, as you do not want it to break at this stage.
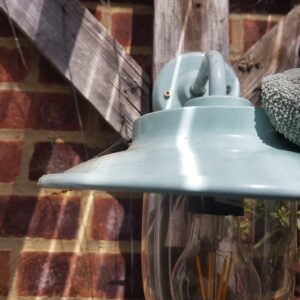
It’s a good idea to remove the glass fitting, as this can be washed seperately, then dried before re-assembling. You could also replace any older incandescent bulb (Old 40/60 watt type) with a much more energy efficient LED. It will save you money in the future.
With a clean light fixture, more illumination is given and looks better, keeping your house looking at it’s best.
Replacing Fisherman’s Wall & Pendant Light Glass
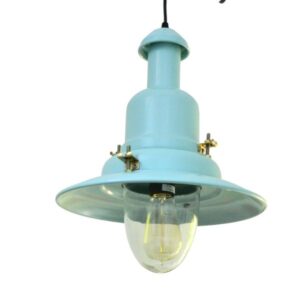
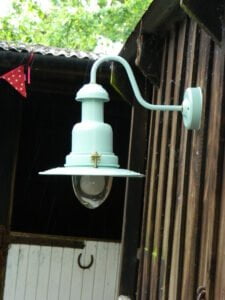
So you’ve checked your light and the glass is cracked, or a wayward ball has made an impact!
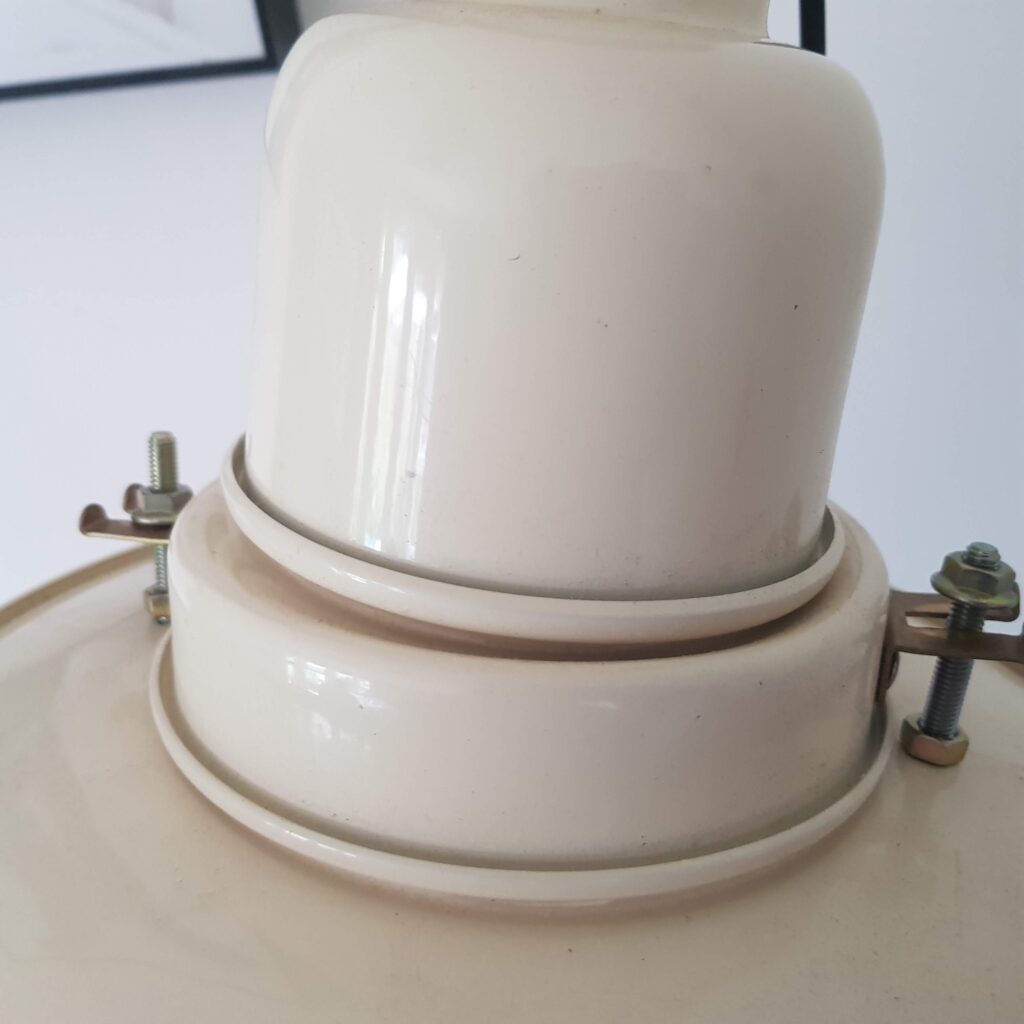
Burford Brand Lights; This description is particularly for our Fisherman’s Pendant & Wall fixtures which have 2 nuts nad bolts holding the shade in place. The shade holds the glass in place. The small or standard light has 2 bolts holding the shade. The Large & Extra Large fixtures have 4 bolts, but only the bottom 2 hold the shade.
Other lights may have a similar fixing, however the glass will be different.
Burford Fisherman’s Lights
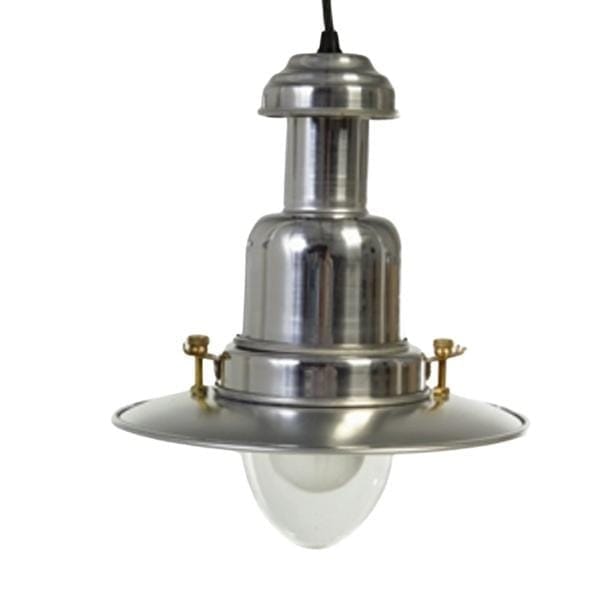


How to Replace The Glass Globe or Bowl
First start by turning off the power, the holding the glass bowl in one hand unscrew the 2 retaining nuts, releasing the shade which is holding the glass. The nuts may not need to be fully removed, but for general maintainance of any outside light, could be. For outdoor lights it’s worth giving the screw threads a quick spray with WD40 or silicone spray, before replacing.
If the glass is intact and you are just cleaning it, just reverse the process.
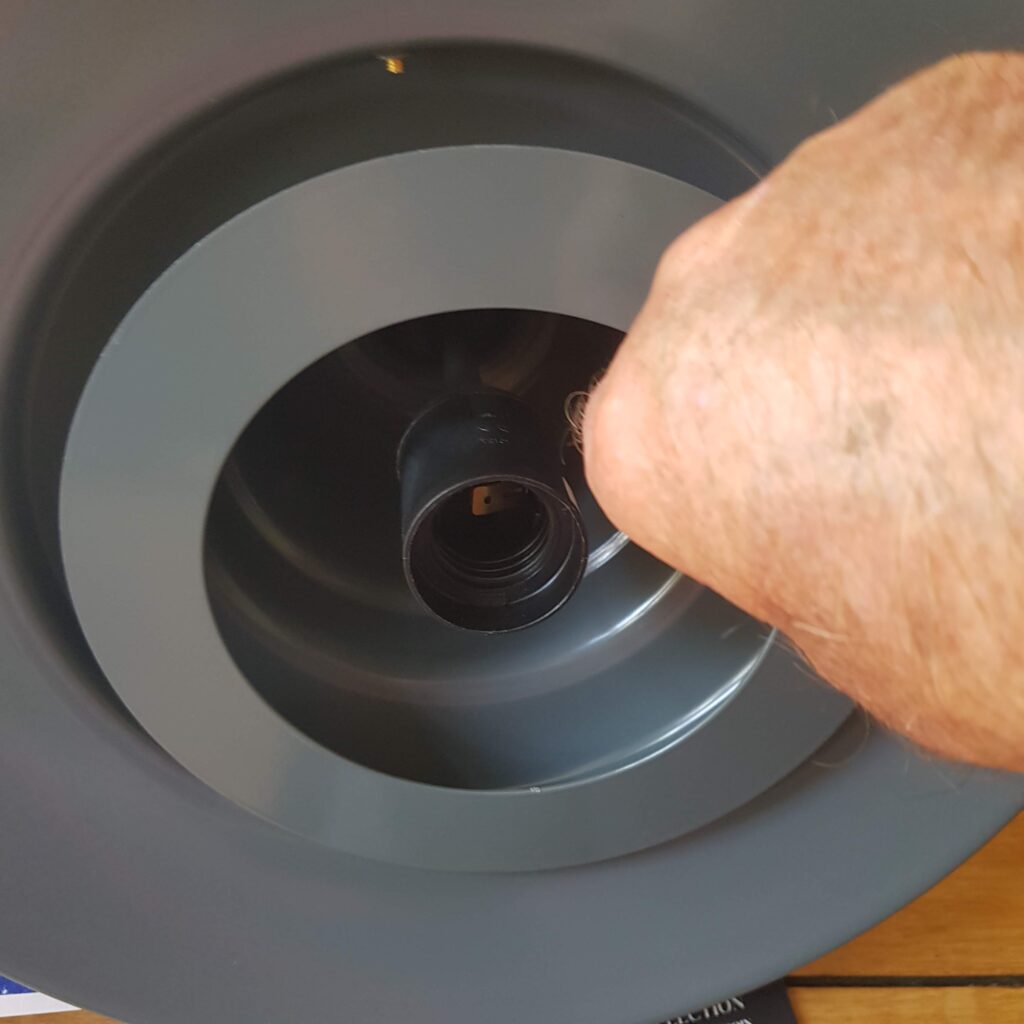
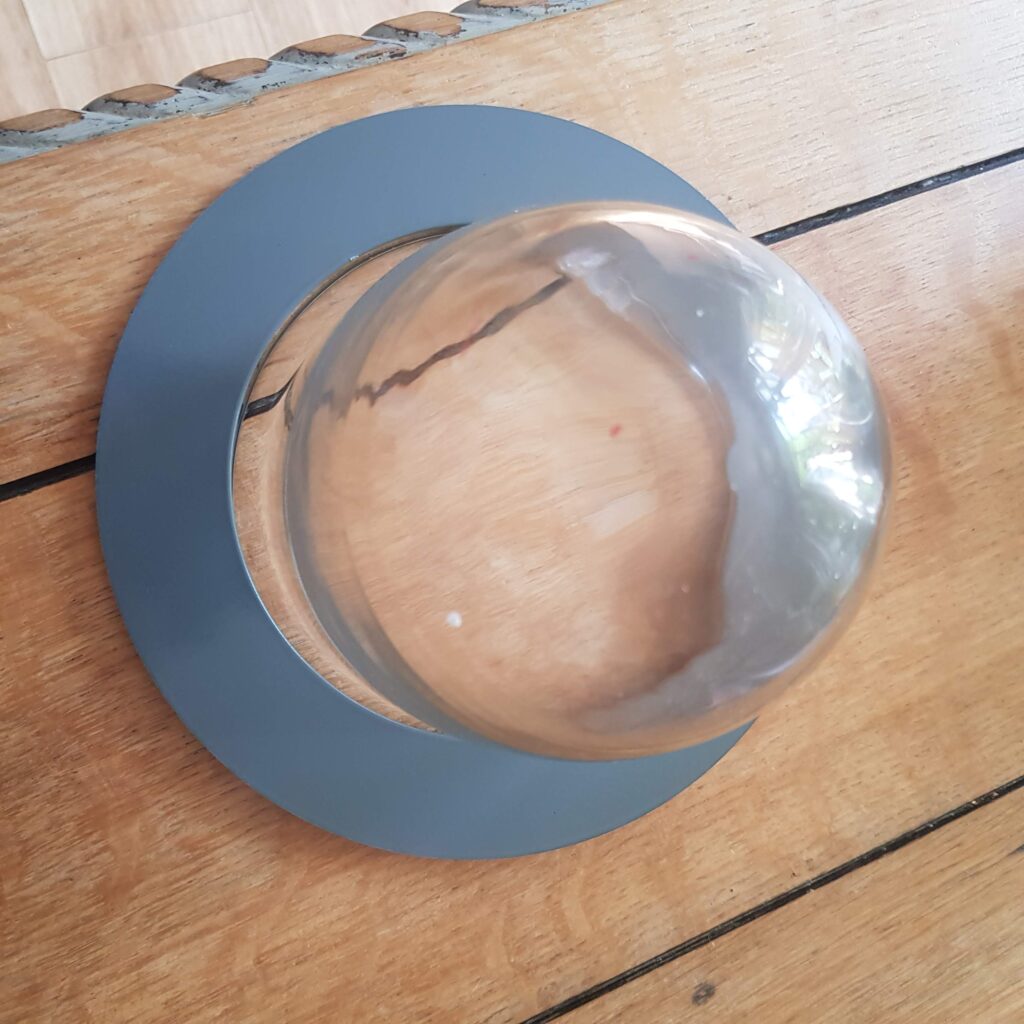
Firstly ensure the nuts are off the bolts, this will make it easier to locate the shade. Place the glass into the shade, hold the glass bowl and offer it up to the light, keep holding it while locating the bolts into the brackets and add the nuts. Tighten the nuts as required.
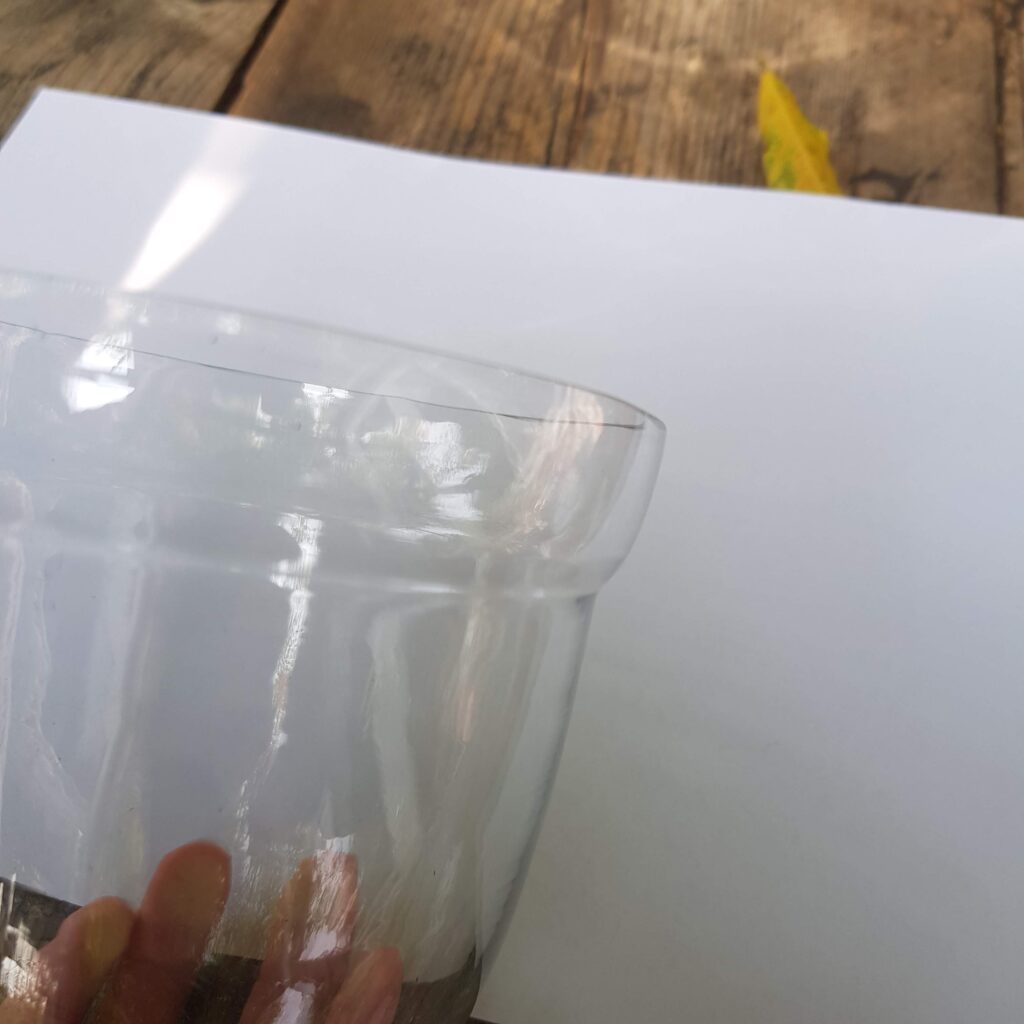
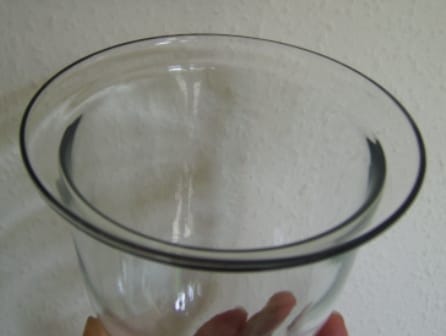
Some glasses have a bulbous top whilst some glasses have a lip, both will fit.
And there you have it, cleaning your light or replacing the glass shade – this will keep your outside lights in good shape for years to come.
Buy Your Replacement Glass Globes for Fisherman & Burford Barn & Stable Lights
Looking for a Larger wall light? Explore our UK made Fisherman’s Wall Lights – see the full Guide
